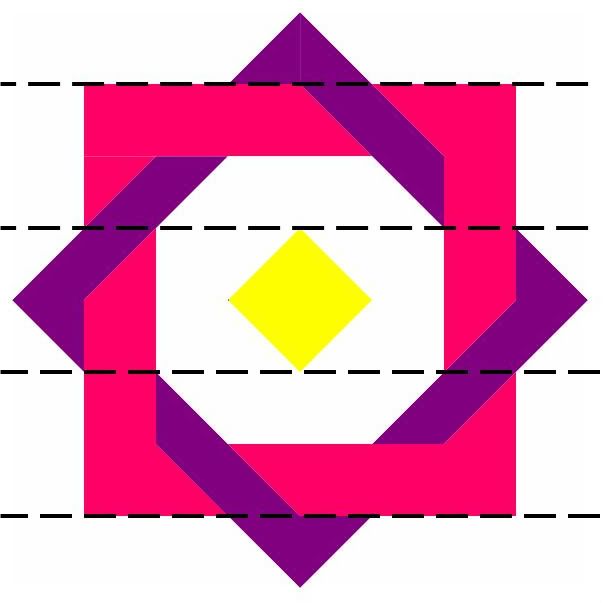
Fabric Requirements for one block
:
Colour 1(purple): a fat eighth
Colour 2(red): a fat eighth
Colour 3(yellow): 4 1/2" x 4 1/2" scrap
Background: a fat quarter
Cutting InstructionsPurple 10 2 7/8" x 2 7/8"
Pink 4 2 7/8" x 2 7/8"
2 6 1/2" x 2 1/2"
6 2 1/2" x 2 1/2"
White 6 2 7/8" x 2 7/8"
4 6 1/2" x 2 1/2"
8 4 1/2" x 2 1/2"
4 2 1/2" x 2 1/2"
Yellow 1 4 1/2" x 4 1/2"
So first of all we're going to split the block into 5 different slices -
I call it my sliced plan :D)
1.To Make Half Square Triangles:
Take 10 purple 7/8" x 2 7/8" squares, 4 pink 2 7/8" x 2 7/8" squares and 6 white 2 7/8" x 2 7/8" squares.
Draw a diagonal line in pencil or water soluble pen on the wrong side of the purple squares.

2. Place a purple and pink square wrong sides together and using the line as a guide, sew a 1/4" seam on either side. Repeat for purple and white squares aswell.

3. Take a ruler and rotary cutter and cut along drawn line on each sewn square.

4. Press open, pressing seam towards darker fabric. Trim off 'ears' sticking out at corners of squares.

5. To make top and bottom slices of the block:Arrange a white piece 6 1/2" x 2 1/2", then two half square triangles of purple and white, and finally another white piece 6 1/2" x 2 1/2".

6. Sew together.

7. Make two, one for top slice and one for bottom slice.
8. Arrange a 6 1/2" x 2 1/2" piece of pink fabric, two half square triangles of pink and purple, then a single 2 1/2" x 2 1/2" square, as shown in photo below.

9. Sew together. Make two, one for top and one for bottom of block.

10. Arrange Half Square Triangles as shown in photo below, with a white piece 4 1/2" x 2 1/2" in the middle and a single square at the end.

11. Make two.
12. Arrange two strips as shown in the photo, matching seams.

13. Sew together. Make two of these.

14. Sew a piece of white 4 1/2" x 2 1/2" to each end.

15.Repeat for second piece.Press well. Now sew the piece made in step 7 to the top of this, matching seams. (Refer to diagram)

16. Take the yellow 4 1/2" x 4 1/2" square and 4 2 1/2" x 2 1/2" squares.Draw a diagonal line on the wrong sides of the white squares.

17. Place two white squares on opposite corners of the yellow square, wrong sides together. Sew along diagonal lines.

18.Trim off leaving a 1/4" seam allowance.

19. Repeat for other two corners.

20. Again trim off, leaving 1/4" seam.

21. Press well.

22. Sew a 4 1/2" x 2 1/2" piece of white fabric to opposite sides of the diamond.

23.Add half square triangles and single squares as shown in the photo below.

24. Now its time to sew all the pieces together!

Mix up your colours for that Hippy look!

I'd love to see your blocks, I've got a
Flickr group here, so upload your photo and share your colour combinations!